
The Four Key Elements of How To Tell a Story Through Photos
We’d like to introduce you to Colby Brown, a photographer, photo educator and author based out of Boulder, Colorado. Colby specializes in landscape, travel and humanitarian photography. His portfolio of exemplary images spans the globe. Throughout his work, you can see that he combines his love of the natural world with his fascination of the world’s diverse cultures. Each of his photographs tells a story of life on this planet.
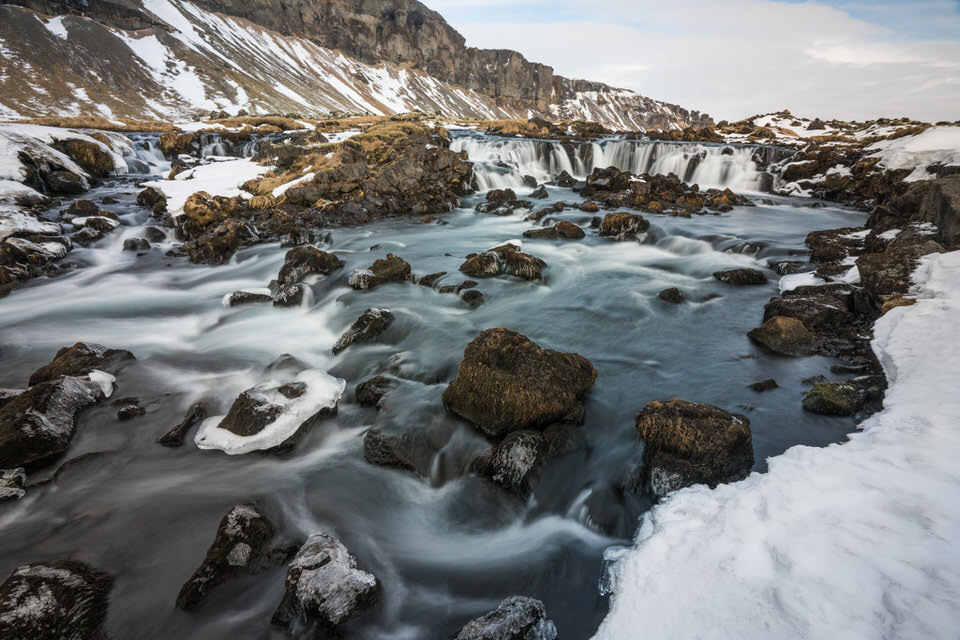
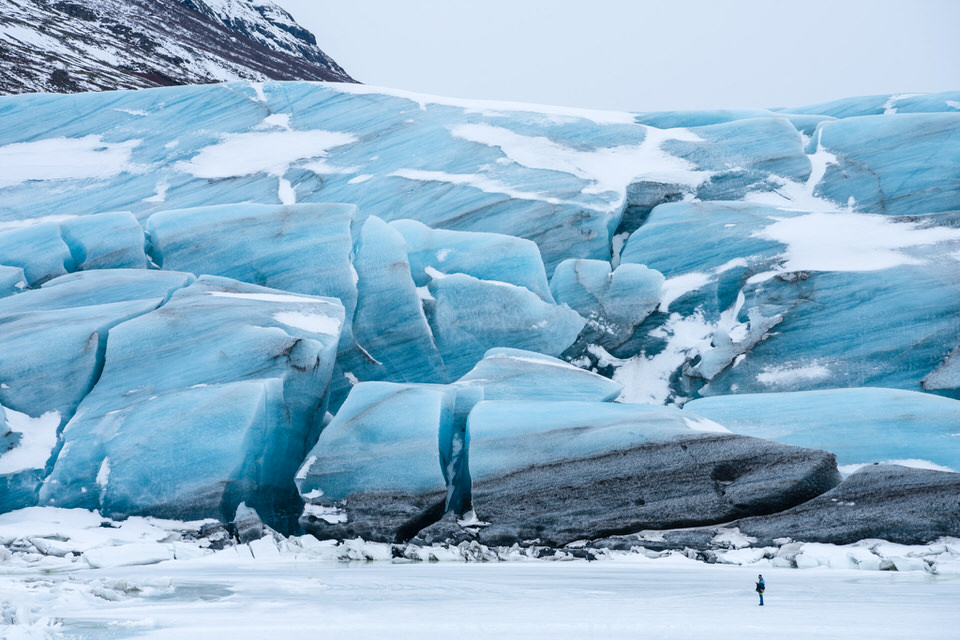
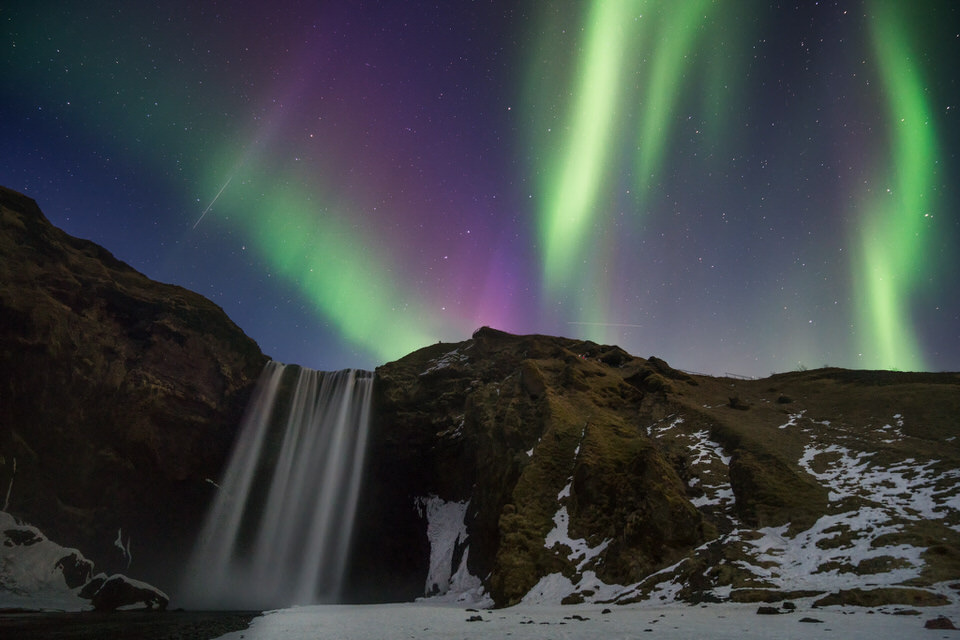
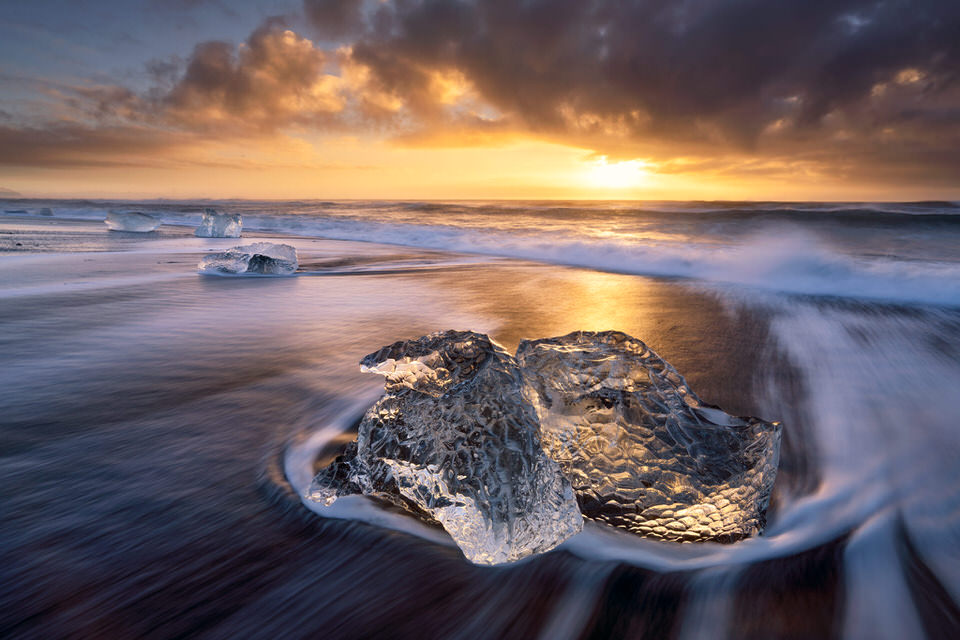
We were fortunate enough to join Colby during his Iceland photo workshop and tour back in early March. Colby focused our time on the South of Iceland, spending the bulk of the time around Vik and Jokulsarlon. We got to see ice caves and Northern Lights, as well as a number of waterfalls. It goes without saying how appreciative we were that Colby set aside some time for us to interview him. We’ve written down some Q&As from the interview, but for the short movie we made, make sure to scroll down to watch it in its entirety. So without further ado, here’s Colby.
How do you tell a story in a single image?
While I’m known as a landscape traveler and humanitarian photographer who teaches workshops all over the globe, the truth is I see myself as a storyteller, as someone who tries to create impactful images that have something more to say. You see, to me, there’s a difference between a snapshot and a photograph. Where a snapshot’s purpose is to capture a specific moment in time, a photograph is there to tell a story, to pull people in. As a photographer how do you do that? Unlike an author who has hundreds of pages to tell a story or a director that has a couple hours, photographers often have single frame to do so. There are so many people that are taking snapshots out there. The reality is not that many people are actually taking photographs so how do you tell a story in a single frame? To me, it comes down to four key elements; research and planning, in the fieldwork, post processing, and ultimately sharing with your viewers.
Can you explain a bit more about the four key elements?
While you can’t pull in all the elements, the truth is that a good chunk of photography is about being in the right place at the right time. When you’re visiting a new area or even visiting an area that you’ve been many times, like here in South Iceland where we’re at, you need to do your research, you need to be prepared. This often comes down to looking at weather reports, checking cloud cover forecasts, seeing what precipitation is going to look like, wind patterns, road conditions. Try to be as prepared as you can when you head out into the field.
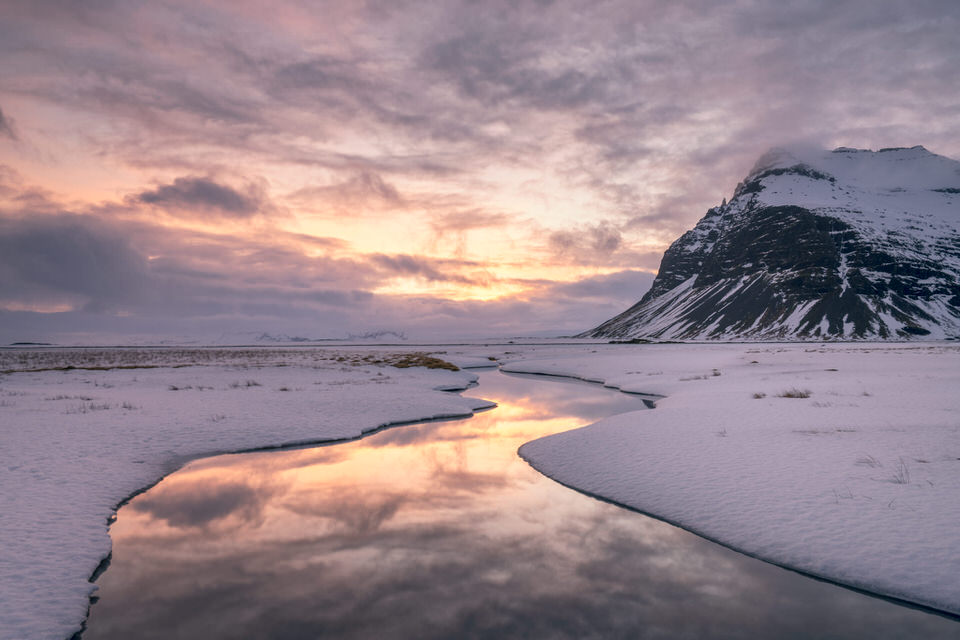
When you’re in the field you’re really putting the base of your story together. This is where you’re making the creative choices to determine who your subject is. It could it’s individual, could be a place, a location, a feeling, an emotion, a color, a pattern, truly anything but it’s important to figure out who your protagonist, who your main hero of your story is. There you’re also setting the scene, you’re determining what the atmosphere is like. You’re determining how light affects emotion in terms of your exposure.
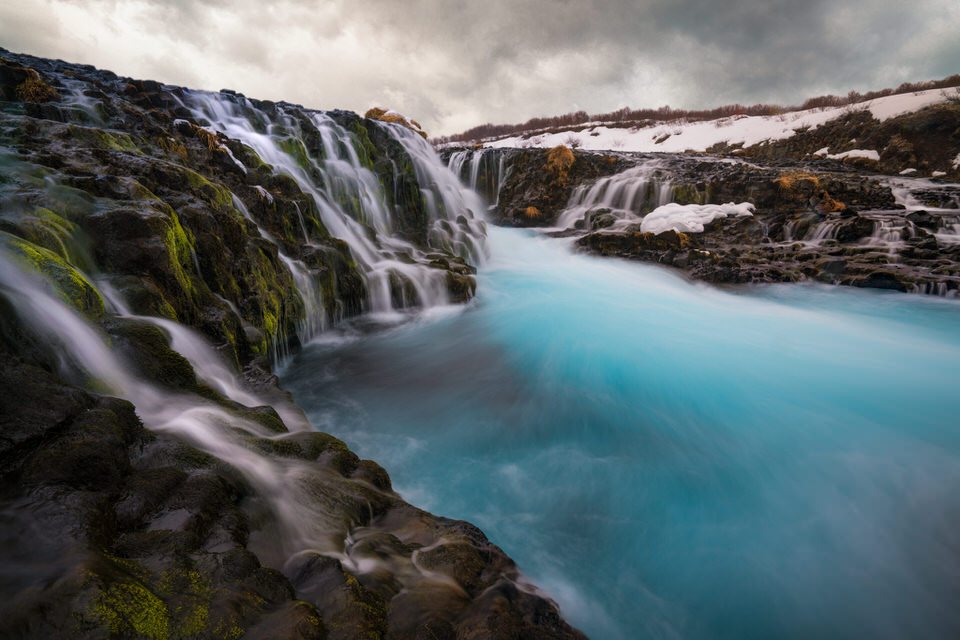
This is also where you make creative choices when it comes to depth of field, motion, even blur a subject in order to have water look more dream-like, or use a fast shutter speed and freeze it in time. You can use compositional elements such as leading lines, and all different elements that kind of pull different elements together. You have to think of the framing of the composition of your image in terms of the canvas or the plot line of your story. This is not only where your hero is playing an important role but also all the other elements, all the other supporting characters are coming into play.
Changing from a vertical to a horizontal orientation can have a big impact on how the viewer perceives your story. As the photographer you’re the creative professional but it’s up to you to kind of put these pieces together. You’re setting up the character, you’re setting up the scene, and you’re putting the viewer along the path. You’re letting them fill in the rest of the story. In post processing, this is where all the different elements come together. This is where as a photographer you become more of a director; you have a choice of contrast and maybe even saturation.
This is where you have the ability to control light and atmosphere; you’ve got to control the intensity of color. You would affect the black levels and the white levels, clarity, noise, sharpness. All these different elements help tell your side of the story and are a vital part of digital photography. This is where you complete the circle, so to speak, in terms of your side of things. After that it’s up to the viewer to fill in the rest. Ultimately, I think there are three different stages of post-processing, the first stage are global adjustments. These are adjustments that are affecting every pixel in your image. You move the contrast lighter it applies contrast across your entire image or story line.
Next, you have localized adjustments. This is where you’re using something like a paintbrush or pen stylus in order to paint in an effect in a certain area such as brightening a stream or adding color in a specific part of your frame. Then you have advanced techniques where you can control the adjustments to your image based on things such as luminosity or the brightness of pixels, allowing you to add sharpness or noise reduction only into the specific pixels where you actually want to apply them to. Now, each of these different levels of post-processing is where you’re making creative choices that help exemplify and expand those initial ideas that you had as the storyteller, as the photographer out in the field.
How did you first hear about JPEGmini?
I first came across JPEGmini through a friend. I actually saw a post of his online about the application and it caught my attention. The reality is that a lot of photographers struggle with the balance between image quality and file size, especially when you’re working in remote environments or even when you’re uploading photos to your website in order to keep file size down but image resolution up. While I was intrigued at first, I certainly was a little bit skeptical. I think photographers are really picky when it comes to image quality. The idea of compressing our images even there are benefits to it, I think scares us a little bit.
Once I gave it a try and actually saw what I was capable of doing I was actually pretty impressed. In order to test it out I downloaded the JPEGmini trial and exported a number of high-resolution images so that I could compare them to one another. The truth is there really was no difference, and that really surprised me and caught me off guard. If I can cut the file size down from saving my images by just a little bit it would be worth it, especially if I’m not losing any image quality. Now, a number of months down the line and JPEGmini is an integral part of my workflow.
I not only have the Light Room Plug-in as well as the Stand Alone App in order to export images for social media, I also use the app in order to run all the images that go on my website in order to keep the file size down but the image quality high. The reality is, the resolution on the devices that people are viewing my website from are getting larger. Regardless if it’s a phone, a tablet, a laptop or a desktop, whether we’re talking about 2k or 4k screens, those displays require high-resolution files. The problem is, if you use high resolution images generally those file sizes are quite large which means your website starts running slow.
By running all of my images that I put up on my website and my online galleries through JPEGmini, I can keep the file size down oftentimes by more than half the size which is impressive. While photographers that shoot lots of images can certainly see benefits from JPEGmini, I’m here to tell you that it’s actually applicable across all the different genres out there. I’d happily recommend JPEGmini to all my colleagues and friends, both professionally as well as aspiring photographers that take my workshops all over the globe. Even if you’re not tech savvy, it’s as simple as drag and drop. Whether you’re using the Light Room Plug-in or the Stand Alone App, it takes merely seconds in order to run.
When it comes to the gear and the programs that I use, I need to make sure that everything is effective and efficient. This is the reason I use certain types of cameras, lenses, tripods, backpacks, storage devices, and why I use JPEGmini. All of it allows me to work more effectively and efficiently out in the field.
1 Comment
Beautiful photography. Your all image is so awesome and i like this photo thanks for this share…………….