Sharpening Images With Control
Why We Sharpen
You’re shooting away and inevitably you look at the back of your camera. The images look tack sharp. Later when you look at them on your monitor they aren’t as sharp as they previously appeared on that little screen. You missed focus by a little bit. Or maybe you were shooting in low light and had to drop that shutter speed down to get a little more light, but you ended up with a bit of motion blur. And of course, these shots just happen to have the best expressions, poses, and lighting. This is where sharpening can help a little. And I do mean a little. This is by no means a cure for extreme cases, but it has certainly helped me bring back images that were otherwise unusable. And hey, if sharpening won’t work, you can always convert to black and white. Then it’s just artistically blurry. Am I right? Come on, you know you’ve done it. Also, I should note that even when I nail focus I still sharpen my headshots a little.
Get Into The Habit
Something I’ve learned to do more often when checking images on that tiny screen is to zoom in all the way to the eyes and check my focus. This saves me the headache of culling through bad images or creating more artistic black and whites.
The Method
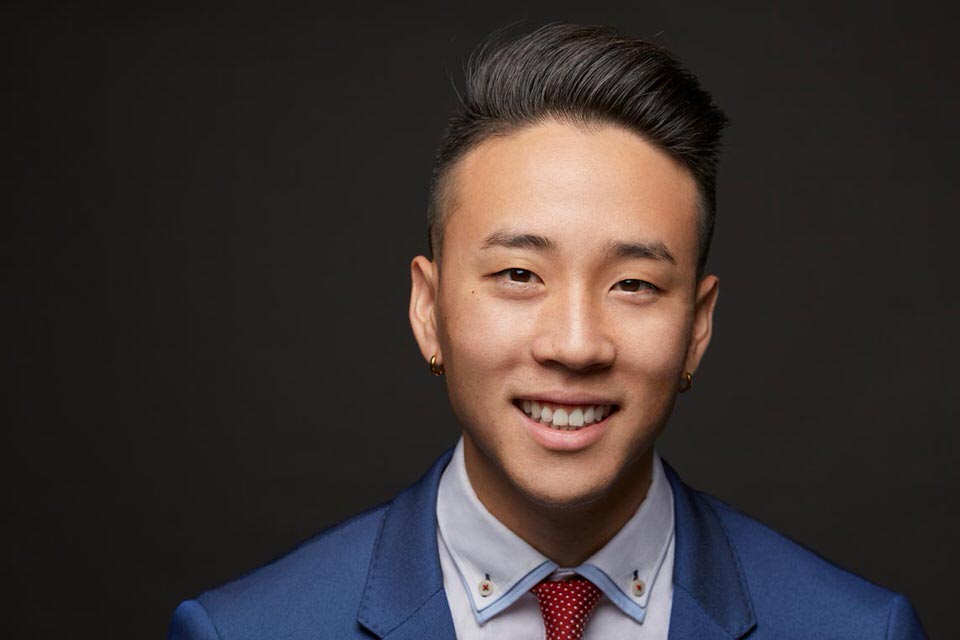
So here goes. The method we’re going to cover will give you a lot of control by separating your sharpening between dark and bright areas. We’re going to use an image I shot in the studio a while back that could use a little help. The area you want to pay the most attention to are the eyes. More specifically the eyelashes. Here you can see that they’re defined but they’re not sharp.
Duplicate
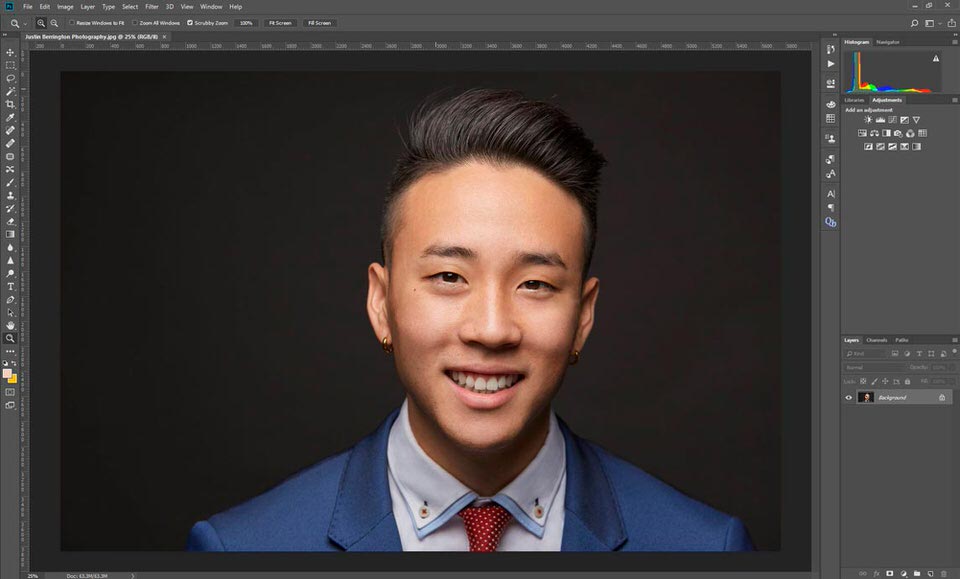
Open your image up in Photoshop and duplicate it (ctrl+j). This should become a habit in your workflow. This is your safety net should you need to start from scratch or recover some original details want back. It’s also a great way to have a look back and see if maybe you’ve gone too far and over-edited your image.
Try JPEGmini Pro For Free Now!
Unsharp
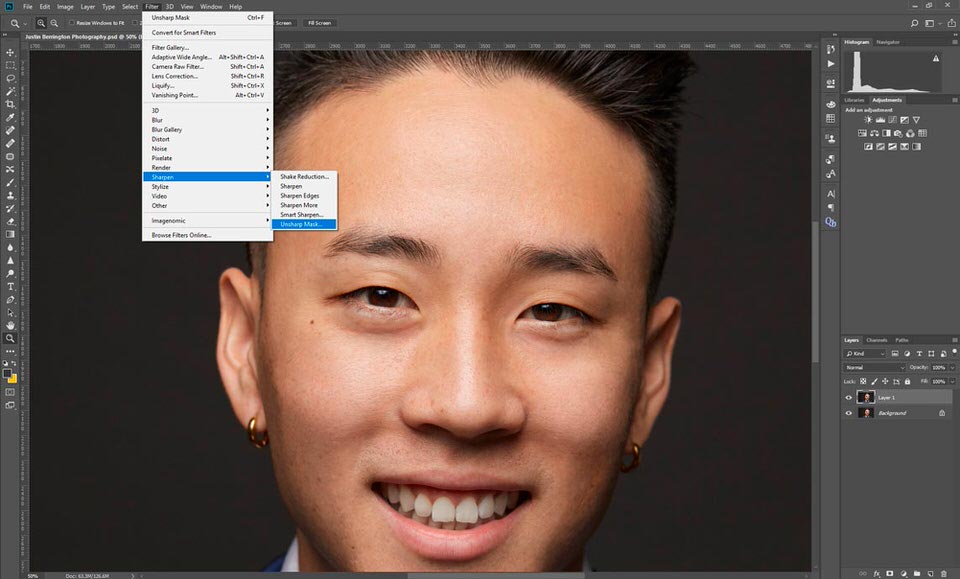
Zoom into your image until you’re at a 50% zoom level, displayed at the bottom left of the Photoshop interface. Select your top layer if it isn’t already selected. Go to the “Filter” menu at the top of the interface. Select Sharpen > Unsharp Mask.
Settings
In the Unsharp Mask dialog box, you’re going to crank the amount all the way up to 500%. The Radius will be adjusted at your discretion based on your image and the Threshold will stay at 0. The trick is to go just far enough with the Radius that you start seeing the highlights turn a little glittery.
I’m going to start a little high with the Radius at 0.7. For this image, a Radius of 0.7 is too high. Let’s dial it back a little
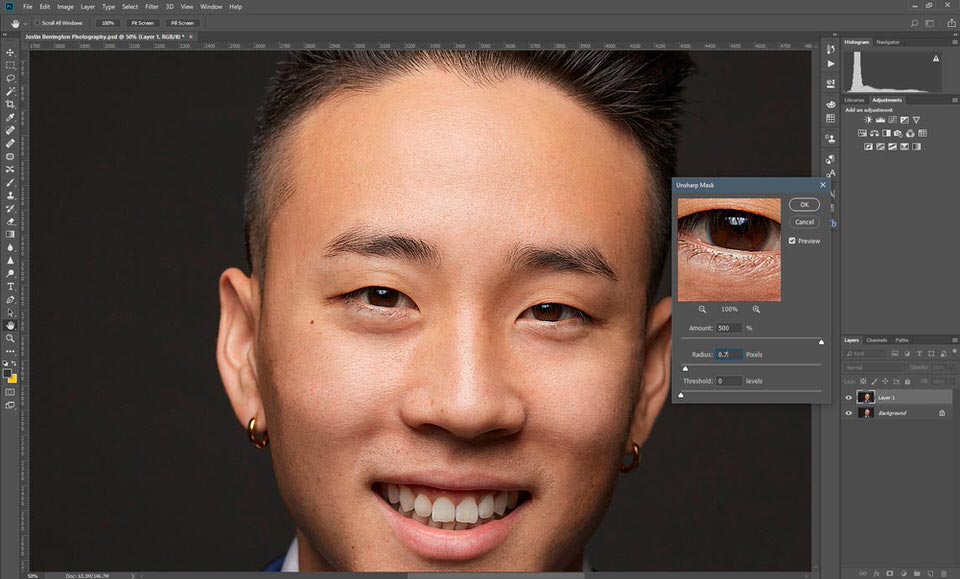
Adjusting it to 0.4 works perfect and sharpens the image slightly more than what we’ll want in our final image. Hit OK.

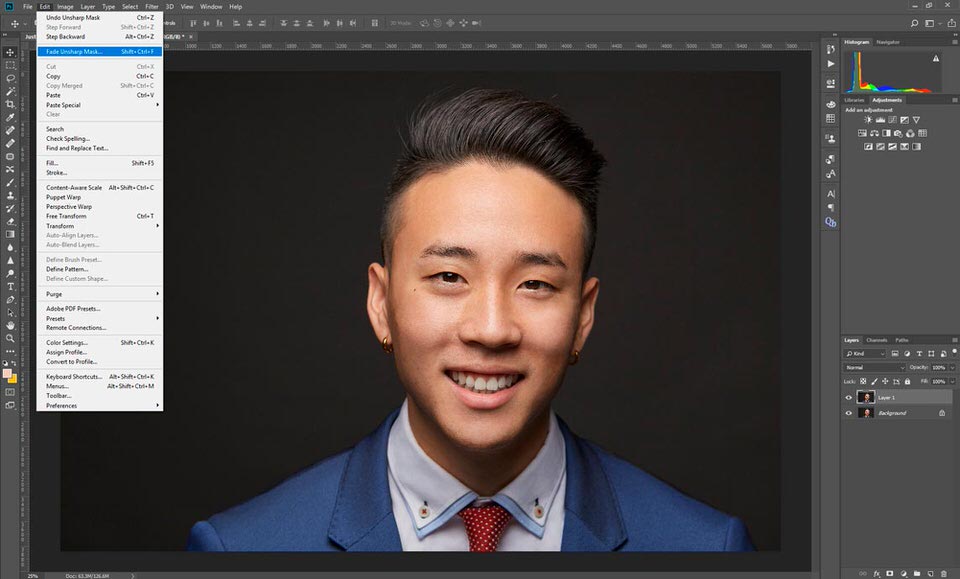
Fade
Now, before you do anything else, and this is crucial, go to Edit > Fade Unsharp Mask.
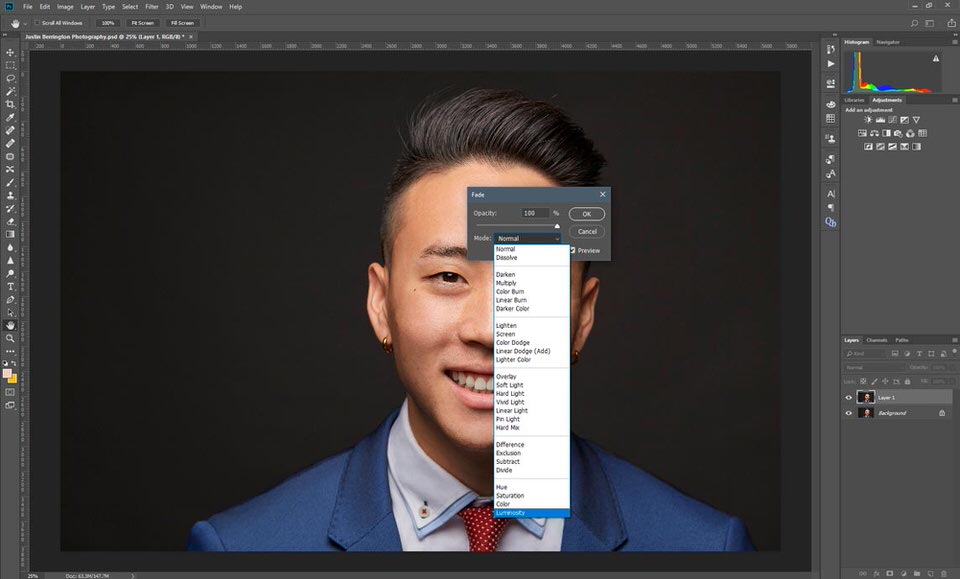
In the Fade dialog box, change the mode to Luminosity. This will prevent the sharpening effect from saturating the colors in the sharpened areas.
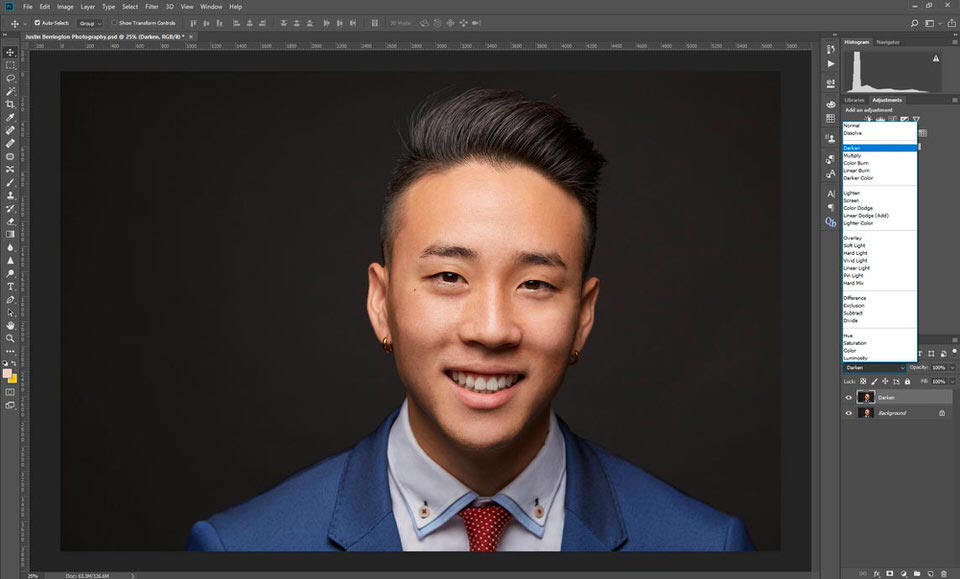
Darken
Next, you’re going to set the top layer’s blend mode to Darken. This is where you will gain control over the sharpening in the dark areas of the image. Rename the layer to Darken.
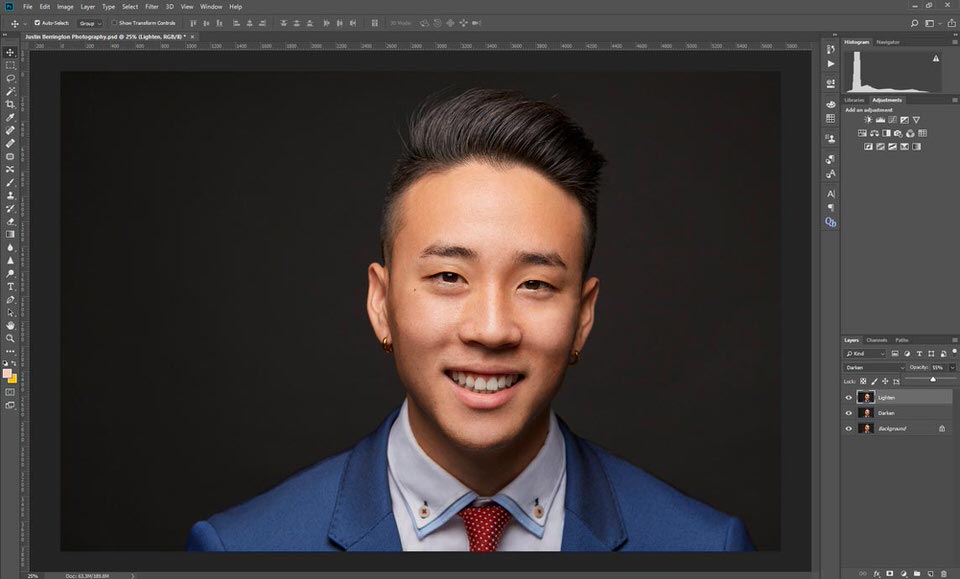
Lighten
Duplicate the Darken layer (ctrl+j) and change the duplicate layer’s blend mode to Lighten. This will give you control over the light areas of the image. Rename the layer to Lighten.
Take Control
Now it’s time to control your sharpening. Generally, I like to reduce the Lighten layer more as this shows the most obvious signs of an over-sharpened image. You do this by reducing the opacity of the layer. 55% looks pretty good to me. I will usually leave the darken layer at 100% and reduce both layers together. You do this by grouping the layers together and reducing the opacity for the group. Select both layers and hit ctr+g to group them together. I’ve set mine to 59% and renamed the group to Sharpen.
Bonus Round
You can take this one step further by adding layer masks to your individual layers or to the group layer and paint the areas with a black brush that you don’t want to be as sharp.
Before and After
Here’s a before and after with the results. You can see that this has improved the sharpness and overall quality of the image. It’s a subtle change but it makes a big difference in your final presentation.
