The Keys to Visual Simplicity
Here’s the thing, I’m not a fan of writing. My mom disagrees: “Tom you’re a great writer if you put your mind to it” she would say… I’m all about visual learning, I’m sure most photographers can agree with that. I’d much rather show you what I’m trying to get across than attempt to write in-depth and sound like a moron.
PART ONE – SHOOTING FOR AESTHETIC
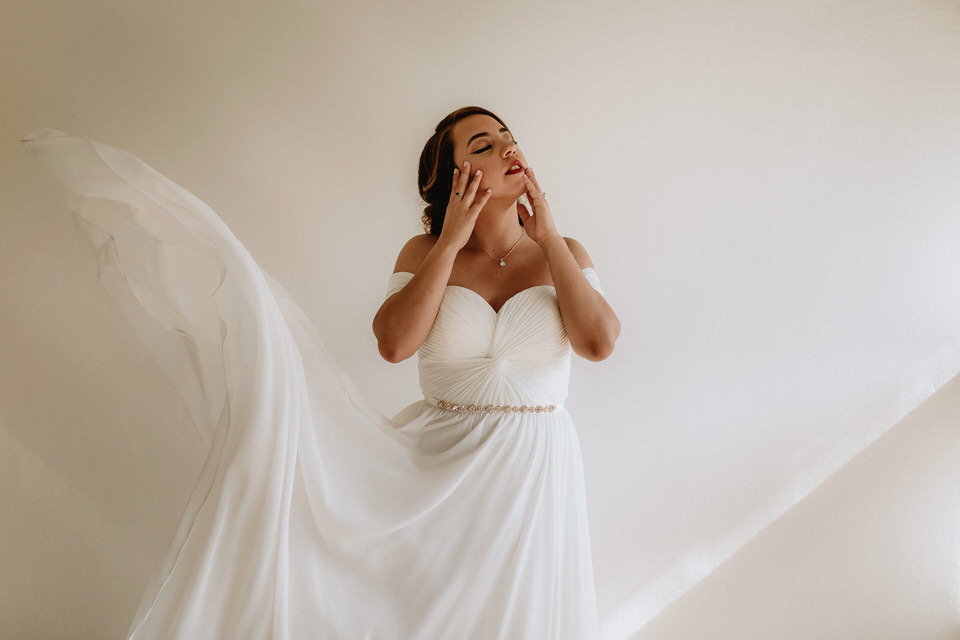
We’re all trying to create our best version of an image that we see in our minds before we click the shutter. We’re trying not to just capture moments, but to capture them as aesthetically pleasing as possible. A general well-balanced aesthetic with good composition is at the top of my list when creating my best version of an image.
I love straight lines, clean edges, and minimal distractions. I always keep that in mind when I’m shooting. I’m constantly thinking about how can I minimize any distractions and how to use my surroundings to create interesting compositions.
Try JPEGmini Pro For Free Now!
My goal is usually to do a minimal amount of unnecessary editing by being attentive while shooting; but sometimes to achieve visual simplicity, you do need to put in a bit of extra work.

Be Aware of Your Surroundings
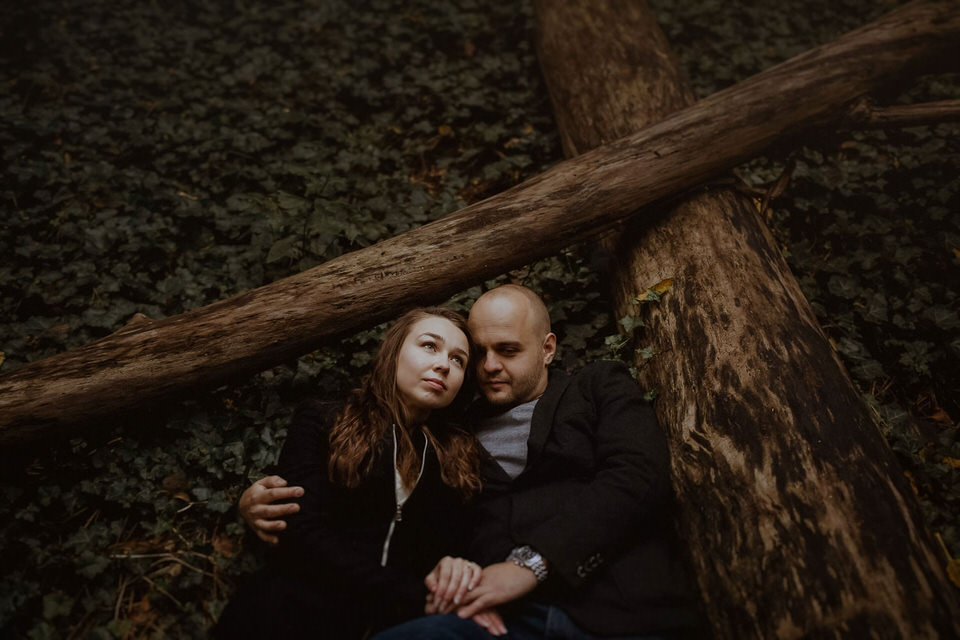
I am always aware of my surroundings, looking for simple backgrounds to use in a portrait or the best angle to capture a moment while hiding any clutter. Examples of things I look out for are: trees/branches sticking out awkwardly behind people, light switches/outlets, bold obvious colors or objects like fire hydrants/signs, and people/things at the edge of the frame (I’m always cropping images in tighter to hide these lurkers).
I think about how to use the surroundings to my advantage and hide any clutter; while trying to keep any lines straight and anything unnecessary at a minimum. I play with different angles and points of view to tell a story by choosing what is included in the frame.
Having all of this in mind while shooting helps but things aren’t always perfect, are they?

PART TWO – EDITING FOR AESTHETIC
Removing Distractions
My favourite thing ever! Removing distractions is time-consuming but it’s worth it. Most people tend to despise editing, but I say, grab it by the modules and make it your…
Really, it’s just another part of the process in creating the best version of an image. I spend most of my editing time cloning little things out of the background. For example, you’re in the heat of the moment, you hear someone laugh, you have to get the shot because of #candid. You twirl around and take the photo, but there was a persons face half in the shot and an outlet on the wall behind them. Is it super important to hide those things, maybe not, that’s your discretion, but damn right I’m cropping in tighter and cloning out that outlet. Clutter will not defeat me.
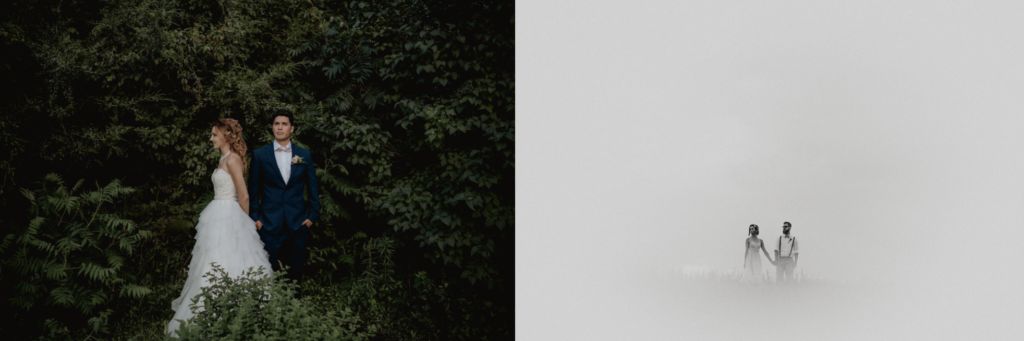
Or how about portrait sessions, this is where I find it to be more pertinent. These are the hero shots. You spend all of your creative energy capturing these images, but why stop there? What if I told you that YOU CAN MAKE THEM EVEN BETTER. Now to stop sounding like an infomercial, I’ll show you some examples.
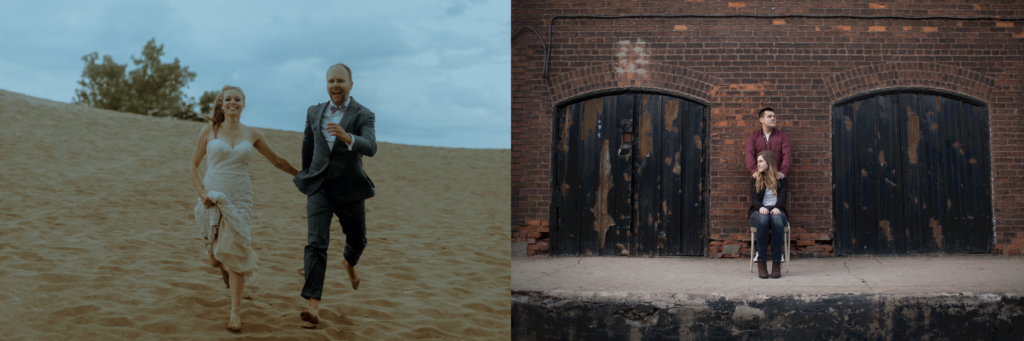
Look at these, mmhmm. This portrait is now much cleaner and really puts focus on the couple. Our brain doesn’t need to read the extra shizz, it’s scientifically proven, believe me.
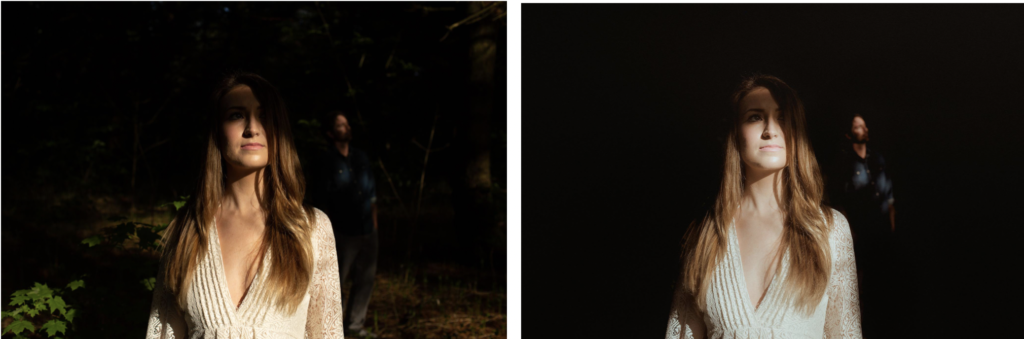
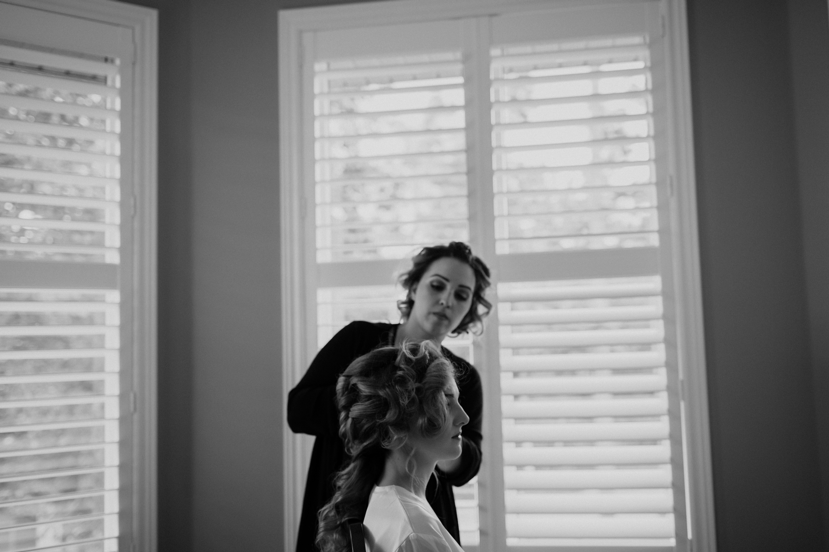
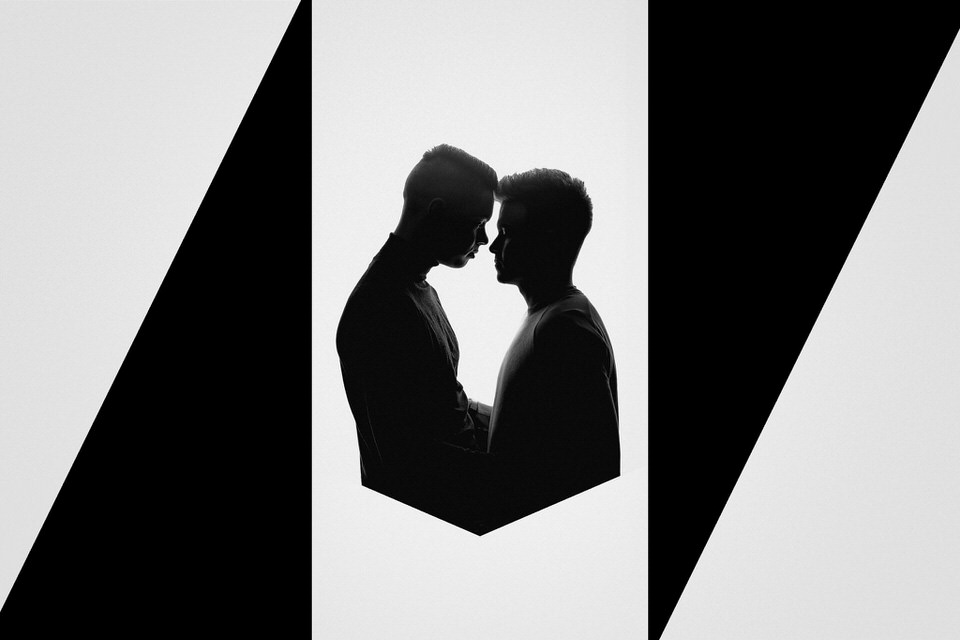
For this photo, I used the brush tool to underexpose distracting elements along the edges and draw focus on to them.
Straighten Up
As I mentioned earlier, I love me some straight lines. Angled edges mess with my brain unless they’re done purposely (well) and lead your eye into the main focus. I do my best while shooting to frame clean compositions, but fixing it is typically simple — The transform tool in Lightroom is my best friend. One click on auto and the job can usually be fixed. Rarely do I need to play with the vertical/horizontal sliders unless it’s some serious distortion. I see a lot of door & window frames or edges slightly off axis and I cringe because I know how easy it can be to fix.
Be Selective
Think about what you want to show in your images, draw viewers into a specific point by darkening or lightening specific areas or even experiment with the tools to enhance it.
Tools of the trade
- Adjustment brush
- Radial filter
- Graduated filter
- Spot removal
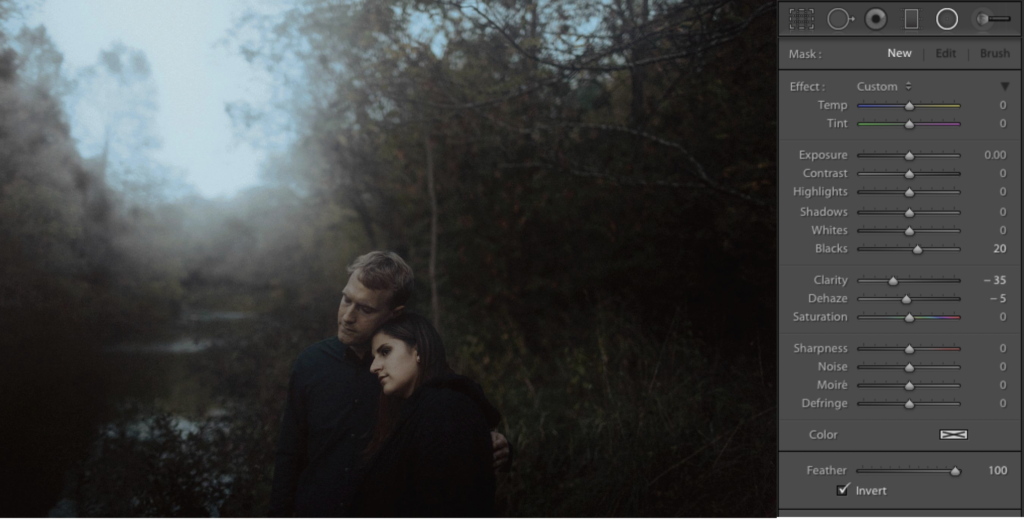
There are many creative uses for using the tools within your editing program. I often use them to help enhance an image or mold it to a creative vision. My favourite right now is adding haze with a radial filter to soften light sources and make everything dreamy! Simply boost the blacks, bring clarity and dehaze down and voila.
A great use for the brush tool outside of a standard dodge and burn is to use it to hide clutter by decreasing the exposure and whites/highlights. This works great for shots with a lot of shadow already for obvious reasons. I’ve also used it to blur edges and decrease clarity in certain spots or even to save horrid underexposed faces in shadow. You can really do a lot to shape or save an image.
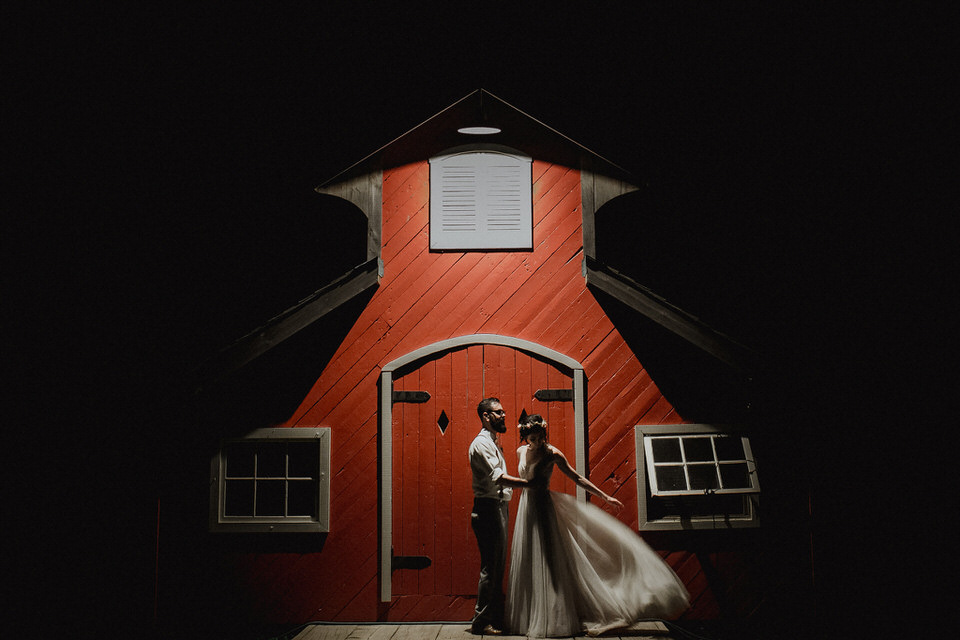
The graduated filter works well for boosting skies, I’ve also found it useful for adding a bit of extra shadow fall off in images. Or using it creatively to create angled sharp lines like in this photo:
Takeaways
So next time your shooting, really think about how you want to compose your image. Ask yourself if there is a way you can clean it up or make it more aesthetically pleasing. I’m never happy until I get it right and even then, it’s not good enough.
Here’s a quick summary of what was mentioned:
- A visually appealing image is one of my priorities
- A less busy image = a simpler image
- Clutter is chaos.
- With creative editing, you can craft a “perfected” or “unique” image that the real world can’t give to you.
Hopefully, you can take away something from what I’ve said and use it to look at things with fresh creative eyes!
If you have any questions please feel free to reach out to me, I’d be happy to help. I could talk about this stuff forever. My Instagram is @tomarmstrongca or check out my website.