
SEO and Image Optimisation for Photographers
When it comes to your business your website is your shop window. First impressions last and when someone visits your website they want to view great information, amazing images and leave your website feeling that it was a good experience and they got what they wanted from their visit.
A part of this experience is the speed it takes for your pages to load. If the images on your site are too large then the page will take a long time to load. These days most of the websites you see are run on the WordPress platform. This allows people to upload their photos directly to the site into their gallery.
You are limited to 100mb per image which means you can’t upload your 42-megapixel image as it would crash your site. So what do you have to do before uploading the images to your site?
Find out the correct image size

WordPress resizes your images for the monitor you are viewing so for you to know the best size to save them at you need to view them on the largest screen possible. For example, most websites show a large banner image on the homepage. You want this image to be your strongest image so you don’t want WordPress compressing or cropping your beautiful image so it looks all distorted. You want your image to fit the container and look pin sharp.
Try JPEGmini Pro For Free Now!
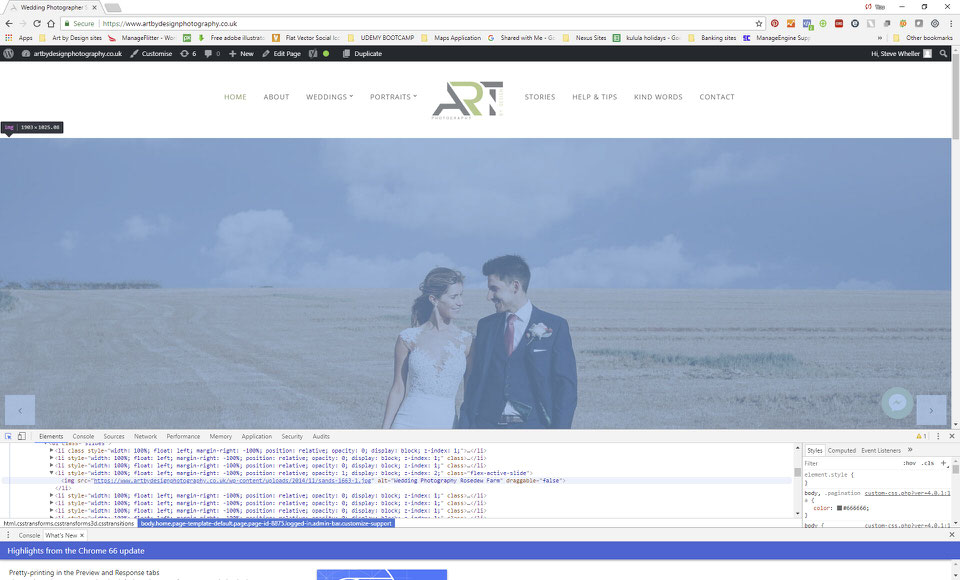
To find out the size of the banner image on your site:
1. Open Chrome and press F12 on your keyboard the inspector window will open.
2. Click the arrow icon in the left of the toolbar and move it over the banner image on your site
3. The browser will now show the width and height of your image (Remember to view your site on the largest screen to get the largest size)
Once you know the size of the banner image you can resize and crop this in Photoshop to the correct size.
Optimisation
You now need to make sure that you save this image to smallest file size possible without losing quality. You can either do this using the ‘Save for Web’ feature in Photoshop and saving it as a jpg with a quality around 60 or you can use JPEGmini to compress the images (use the Photoshop plugin or standalone version).
For a set of gallery images for your website, you can resize them as batch either exporting them in Lightroom (again using the JPEGmini plugin) or set up an action Photoshop to batch resize your images and save for the web. There are a lot of tutorials online to help with resizing and optimising your website. The most important thing to remember is to always resize your images before uploading them to your website. This will help with page load speed and customer experience.
IMAGE SEO
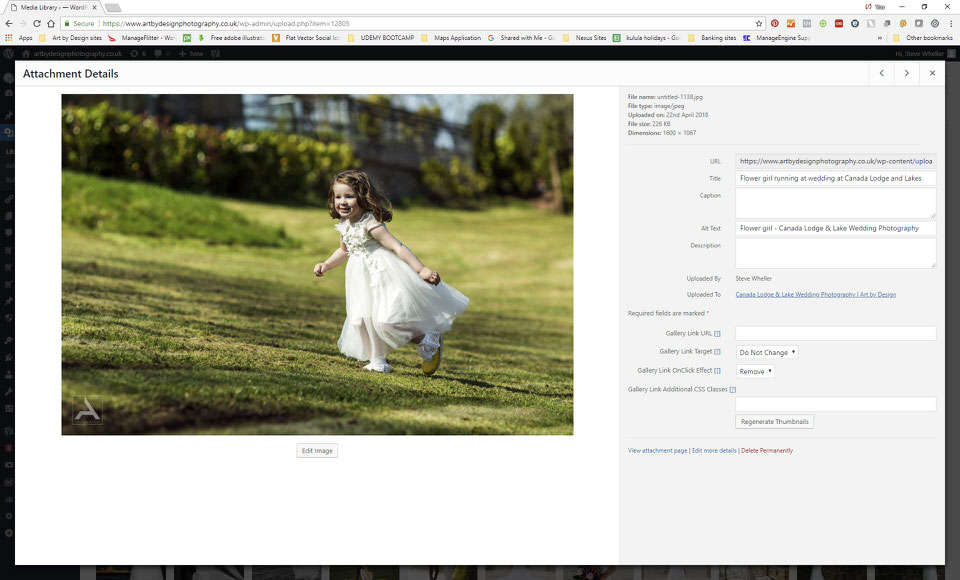
As part of your image optimisation you need to think about Image SEO. That is, getting your product images and decorative images to rank on Google and other image search engines. This starts with saving the file with the correct filename. We want Google to know what the image is about. For example wedding_photography_information.jpg
How important are Alt and title tags for your images?
The answer is very important. Alt text or alternate text are used to describe what the image is and it’s also displayed if the image is broken. The alt tag is also used by screen readers, the browsers used by blind and visually impaired people, to tell them what is on the image. The alt text is used for when you hover over it and the title tag is used in other browsers when you hover over it.
The alt and title attribute also adds SEO value to your website. Adding appropriate alt attributes that include relevant keywords to the images on your website can help you rank better in the search engines. Using the alt and title tags is probably the best way for your photographs to show up in Google image and web search.
So remember when uploading any new images to WordPress you need to carry out the following optimisation:
1. Resize your images to the correct size.
2. Use image compression tools like JPEGmini or Photoshop to reduce the file size.
2. Add descriptive title and alt tags to each image; remember not to use too many keywords. Helps with SEO and people to find your pictures in Google images.
About:
Steve Wheller is a wedding photographer at Art by Design Photography in South Wales. With over 20 years experience providing natural and creative wedding photography to couples all over the UK. Steve is also a qualified graphic designer and marketer and provides web design, graphic design, and WordPress training to local companies in the UK.
www.artbydesign.co.uk and www.artbydesignphotography.co.uk
1 Comment
Great article Steve. I use JPEGmini pro and it saves time when i do a quick batch resize then optimize for internet or a client.